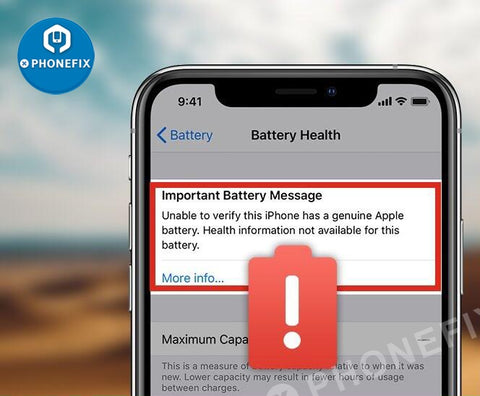
For iPhone XS and above, when a third-party battery or a genuine replacement battery is replaced by a third-party repair shop that isn't one of Apple's authorized partners, the battery health menu will show a warning about being ‘unable to verify this iPhone has a genuine iPhone battery’. How to remove the annoying message? Check out below and see how China PHONEFIX Shop Team fixes the problem with a hardware solution.
More information:
https://www.ifixit.com/Guide/100%25+Fix+Non-Genuine+Battery+Warning+-+Important+Battery+Message+On+iPhone+XS+And+Above/136239
JC V1S Battery Repair Board Flex Cable For iPhone 11-12 Pro Max Repair

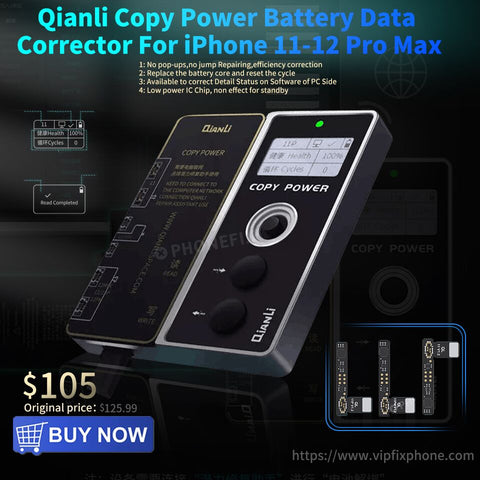
As you know, cheap third-party batteries account for almost half of the battery market. For models above the iPhone XR, Apple does not show 100% battery life and it will show a repair record on the battery setting. So how to fix the problem of warning non-genuine batteries and no health information display on iPhone 11-12 series after replacing batteries? Here China Phonefix team shares a solution that uses a Qianli battery data corrector and qianli battery flex cable.
Apple has set up a check mechanism. When the battery is replaced by the user or through unofficial repair, a warning message will appear that the iPhone battery cannot be verified to be a genuine Apple battery. Health information for this battery is not available. The warning will also appear even if the phone original, as long as the battery hasn't been repaired by Apple official repair.
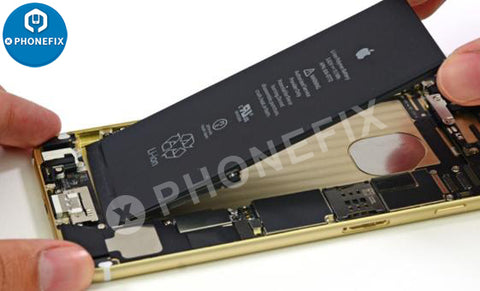
After replacing iPhone 11 and iPhone 12 series phones batteries, we moved the original battery decoder to the new battery according to the previous maintenance method of X series.
The original battery data corrector does not work and the battery parameters cannot be modified but testing. Although the iPhone battery is changed, the battery data is still the old version, and the battery health has not changed at all. The original display maximum capacity remains the original status.
The first solution: The original battery's decoding cable is removed and welded to the new battery and the new battery's decoding cable is scrapped. Then using Stainless Tweezers to buckle the Dedicated Qianli Battery External Flex Cable, and then use the data corrector to finish data correction.
The advantage of this scheme is it is simple to operate, and the only place that needs to be soldered is the decoding cord, but the weakness is there is a cord hanging outside the battery.
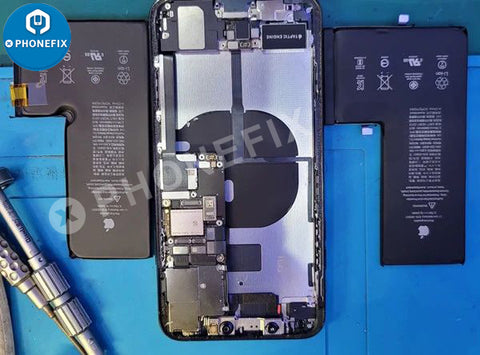
The second solution: The original battery decoding cable is removed, and welded to the new battery above (the new battery decoding flex cable scrapped). Weld it on the built-in cable by 3GOA Portable Spot Welder, and then use the battery data corrector to correct data.
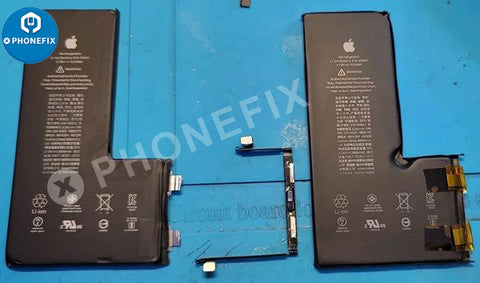
The advantage of the idea is it is not easy to find that it has been welded. The weakness is it not only need disordering the battery decoding row, but welding a built-in row needs high manual operation ability.
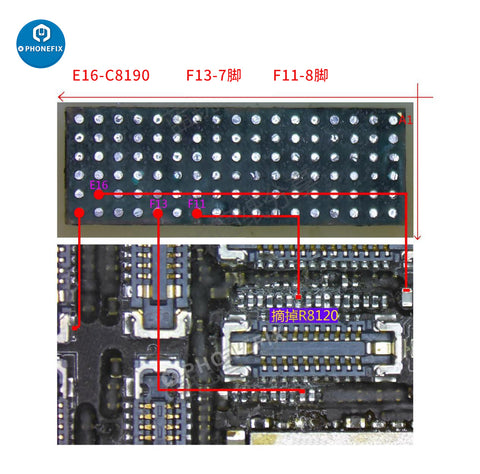
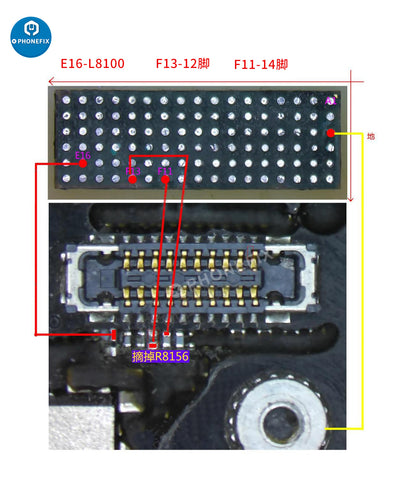
Through protracted and unremitting efforts, Battery Data Corrector was found. It solves the common problems after iPhone 11, iPhone 12 series replaces batteries. It can correct the efficiency, the number of cycles, after the repair it does not pop warning window or maintenance. It can correct iPhone battery capacity to 100%.
Comments
Post a Comment